


Whether you have a client who hit sour notes on an otherwise ideal performance, or that guitarist who insists on using a 1980’s Hondo that refuses to stay in tune, Melodyne has your pitchy posterior. This update is a big one, packing multiple upgrades that transform this plugin beyond simple pitch and time correction. So today, we set out to answer the question, “just how many plugins can Melodyne 5 replace on your signal chain?”
Pitches Be Crazy
Like it or not, pitch correction is a mainstay in music. If you’re in the professional space, you will be hard-pressed to find a client who isn’t going to want (or need) at least a little nudge in the right direction. Regardless of if you use it as a crutch or creative tool, you need it powerful, fast, and straightforward. We’ve all heard the worst pitch correction has to offer. Tonal detection is an elusive beast with so many different variables, so you want to make sure you have the best at your fingertips.
Melodyne has consistently been the industry standard for dealing with more than just a pitchy vocal track. Over the years, Celemony has made sizeable improvements to the Melodyne line. Version 5 is no different, with this one of the more significant releases yet. The update is packed with enhancements to current features (and several new tricks to wow your clients).
Decisions, Decisions

Celemony understands that specific tasks need an onslaught of weapons in the chest. However, they also realize your bedroom producer may not need the whole dog and pony show. So they’ve broken Melodyne into several versions. Before we get too deep into all the new fun stuff, let’s go over the versions. That way, we know what version you’re going to want.
All versions come in all standard flavors of AU, VST, RTAS, AAX, ARA, and Rewire, (with Studio offering Standalone capability). Furthermore, each edition can open a project from any other version. So don’t worry about all of those Melodyne Essential projects not working when you inevitably upgrade.
Essential
This is Celemony’s entry-level pitch correction. With Melodyne Essential, we can edit Melodic and Percussive material in both pitch and time. As far as tools, we have the pitch center, length, note separations, and pitch position options. If you’re looking only to correct pitch, this could be your tool. Just know you are limited on anything more than fixing a whole note’s tone. If your tone is drifting too far or vibrato too hard, you may want to upgrade.
Assistant
If you need more in-depth pitch edits, Assistant has you covered. Controls for vibrato, pitch drift, formants, amplitude, and note timing are available. On top of more expanded tools for monophonic material, Assistant can translate your audio to MIDI. That vocal melody you want a lead behind can be exported to a MIDI file and used in your favorite Virtual Instrument.
Editor
What about polyphonic material like correcting an out-of-tune guitar string or bungled chord on a piano? You’ll need to upgrade from Assistant. Editor brings the ability to tap into DNA (Direct Note Access), which breaks the material into individual notes. You can also alter and extract scale data from audio or even create your own. In addition to in-depth macros for pitch, Editor adds tempo editing.
Studio
Studio brings multi-track pitch editing in one window. Instead of opening several Melodyne instances, you can run the standalone program and edit all harmony stacks together. Studio can also quantize timing from a reference track, locking your harmonies to your lead vocal. Lastly, you can change the timbre by changing the levels between partial notes.
The New Stuff
With the versioning out of the way, we can get into what you most likely Googled to get here. But, first, let’s go over each new enhancement and addition and get you on the road to running Melodyne 5.
I Robot
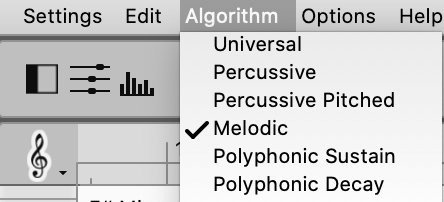
Right out of the gate, Melodyne 5 has improved detection and added a new algorithm. Percussive Pitched works great for transient sounds that also contain melodic content. That 808 riff can be better detected and changed, or that random xylophone solo in that Math Rock song you’re working on can be salvaged to fit in the song! Content with excess reverberation can be analyzed better with the Robust Pitch Curve and the Complex algorithm playback can better decypher formants.
More Human than the Human
Pitch is no longer detected by an overall average. Instead, Celemony has tweaked detection to the point that it almost borders on sentience. Melodyne 5 now behaves more like the human ear. In most cases, when someone deems a note “out of tune,” they’re actually only hearing a segment of the note and judging the whole based on a part. The rest of the note may be perfectly fine, but pitch detection will sometimes throw the baby out with the bathwater.
Melodyne 5 can pinpoint these areas of interest where the note deviates and center in on that one part. This results in the issue handled while leaving the remainder of the note intact for a more natural sound. Additionally, to work together with this new upgrade, double-clicking a note will center the note more precisely, further offering more concise choices for musical correction without losing the authenticity of the track.
Divide and Conquer
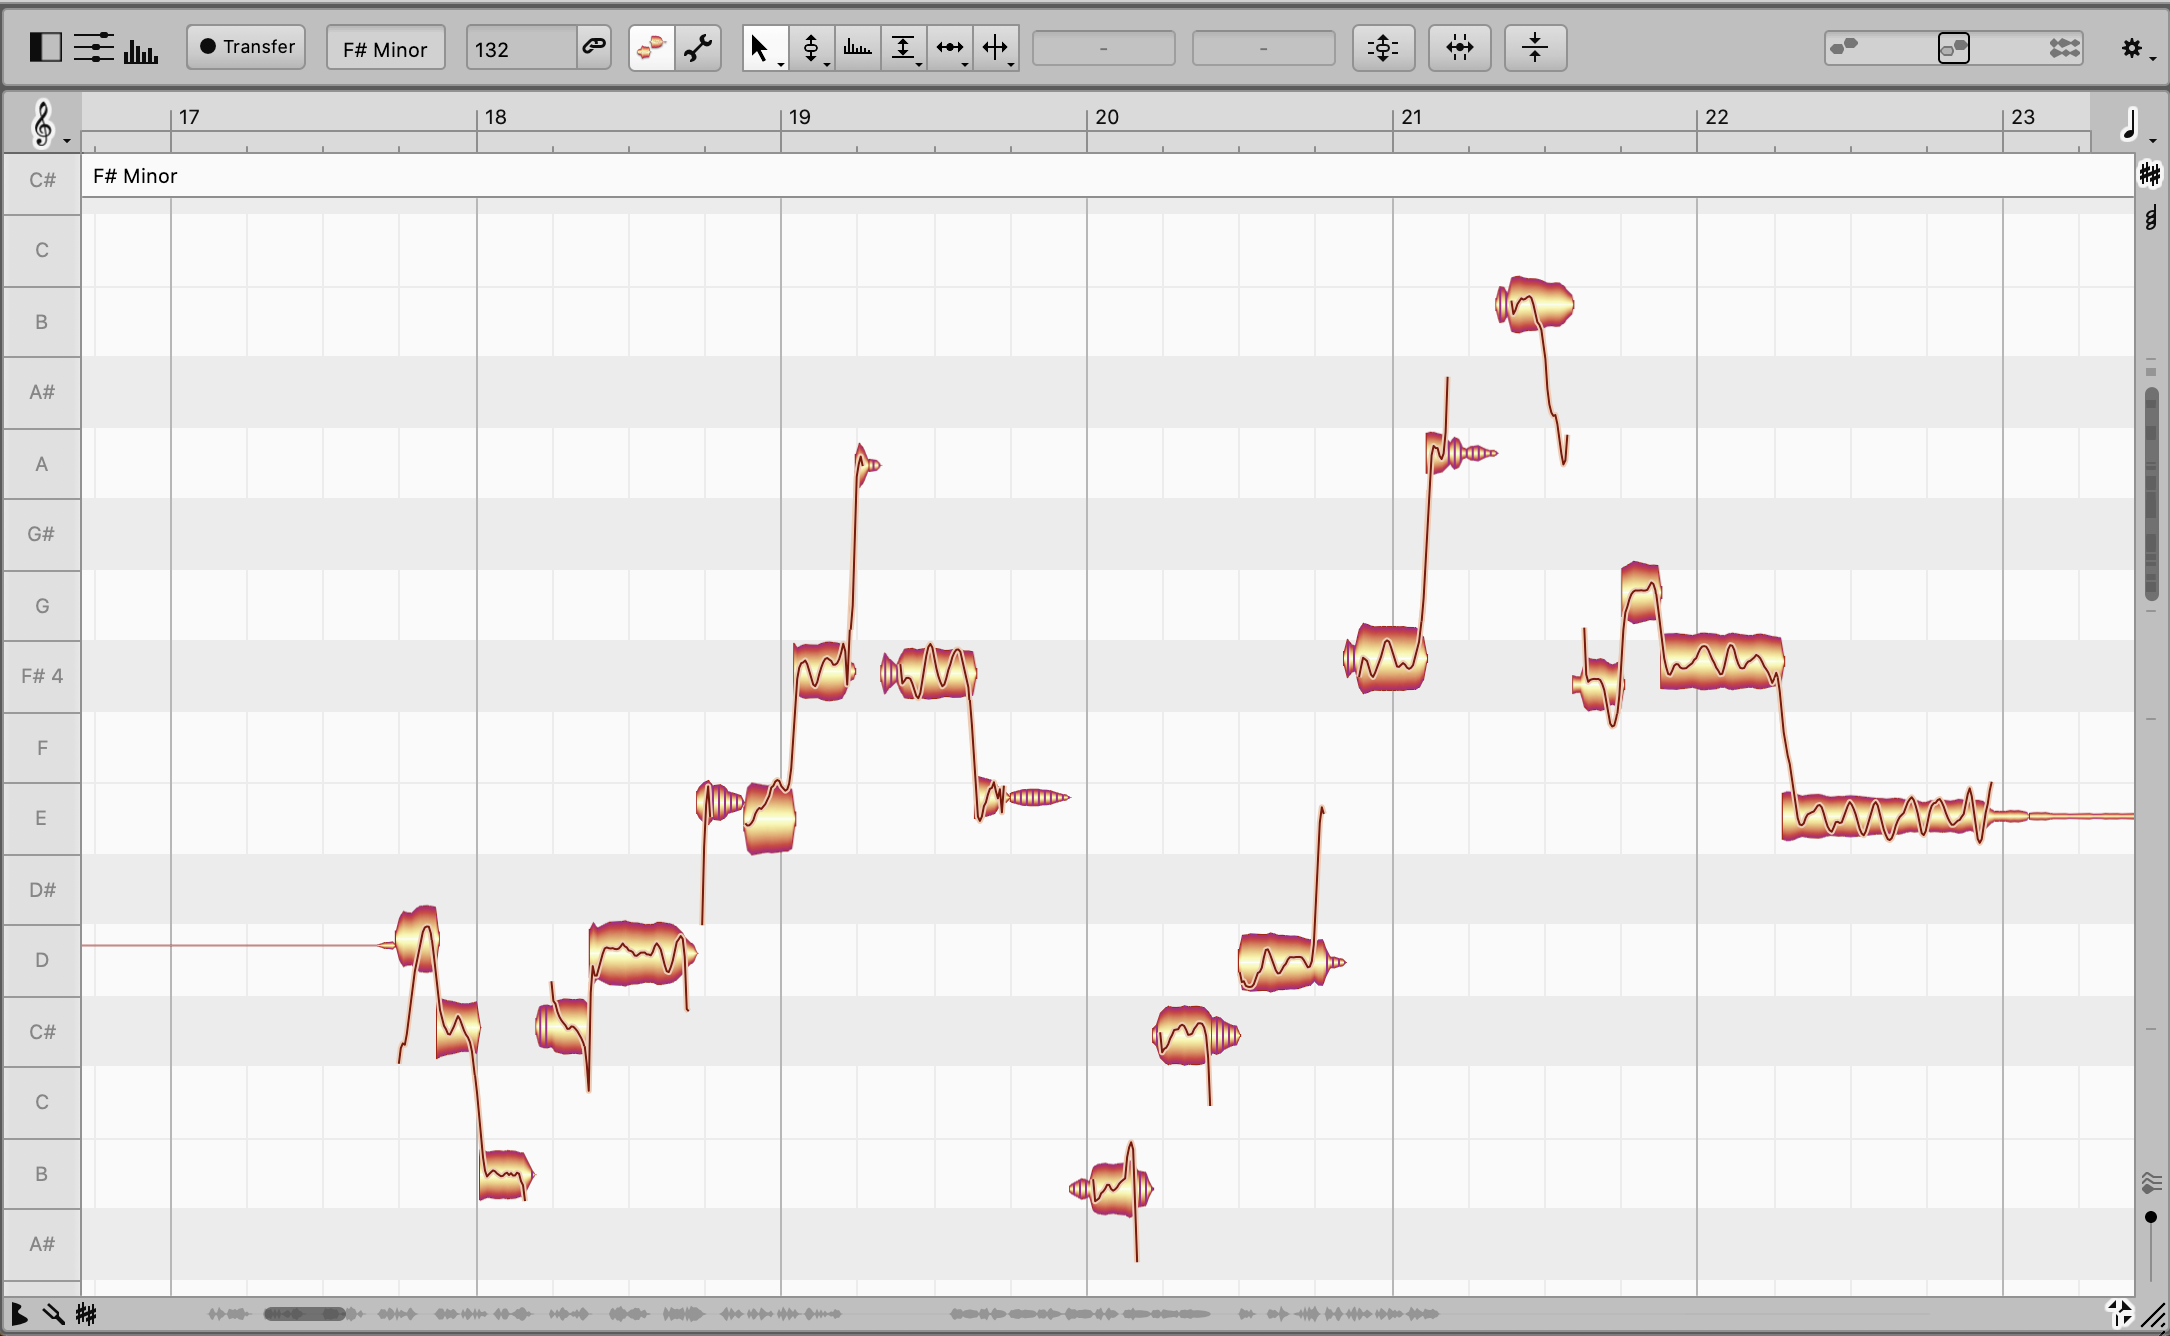
One of my biggest gripes about Melodyne was the sheer amount of separation that I had to do manually. If you pitched up a note, the non-pitched material would move. Consonants and breaths took on a very metallic quality unless you zoomed in and separated the “s” or the “ch” from the melodic content. Those days are over with Melodyne 5’s new overhaul to the detection engine.
Melodyne now differentiates and separates pitched data with breaths, consonants, and other data that doesn’t need pitch correction. Don’t worry; the consonant data still displays with the pitched material. Since the information is separated, any pitch or time corrections will have a more natural sound when notes are stretched. Likewise, if a note is shortened, the consonant will adjust accordingly, leaving you with a more true-to-life adjustment. Your visuals are still intact, and you’re no longer zooming in and slicing data.
A Return to “Sibility”

By now, you’re probably adding two and two together and realizing, “If I can separate consonants, I can de-ess.” This can undoubtedly be done, and Melodyne has made it even easier with the Sibilant Tool. Although the “s” data is still visually attached to the pitched data, the Sibilant tool only changes the sibilants in a blob. You can either increase or decrease the data by dragging up or down. What if the whole track is heavy on the 19th letter in the alphabet? Super simple. Use the Select all, grab the Sibilant tool, and adjust to taste. If you want to see all of those “s’s,” click the settings menu and select “Show Sibilants.” Now all of your “s” data will appear with hatching on it.
Imagine the engineer who had to de-ess that track with hardware.
Chords, Chords, Chords
Not everyone is good at harmonies. I’ve heard some of the best vocalists reduced to rubble when attempting to harmonize with the main vocal. At the end of the session, you’re left with a bunch of harmonies that sound ho-hum. Maybe you were in a rush and missed the fact that the piano player could have played a better variant of a chord. Wouldn’t it be nice to have a tool with a keen sense of music theory?
Chord track works in tandem with the Pitch Grid and Note Editor to see what variations of chords are compatible with your current pitch configuration. Given that you can analyze and display compatible chords, you can quickly switch between alternate voicings. In addition to offering alternate compatible options for chords and harmonies, Melodyne is also a handy tool for analyzing chords for remixes. The algorithm can even analyze entire mixes and distinguish different chords per track. Using this feature has a hidden purpose too – comparing your notes with another track’s. No more worrying about plagiarizing famous songs with your versions, right Vanilla Ice?
Dynamic Duo

No one wants to automate a compressor or expander on sections of a track. Melodyne can do either on a per-note basis. So let your favorite compressor sit the next few plays out and put Melodyne 5 in. The new Levelling Macro consists of two sliders: one to make quieter parts louder and another to make louder parts softer. By selecting a section or the whole track, you can use both sliders in conjunction to level out your track’s dynamics.
Maybe your piano player played a little too heavy on the bass notes. Simple, bring it into Melodyne and use the Levelling Macro to bring down that Ben Folds angst into submission to better match the right hand. Even if you still wanted to use a compressor for vibe, Melodyne is only going to help. By bridging the gap between your loudest and quietest part, you can more evenly apply that Arturia COMP TUBE STA on your vocal track.
And EQ Too
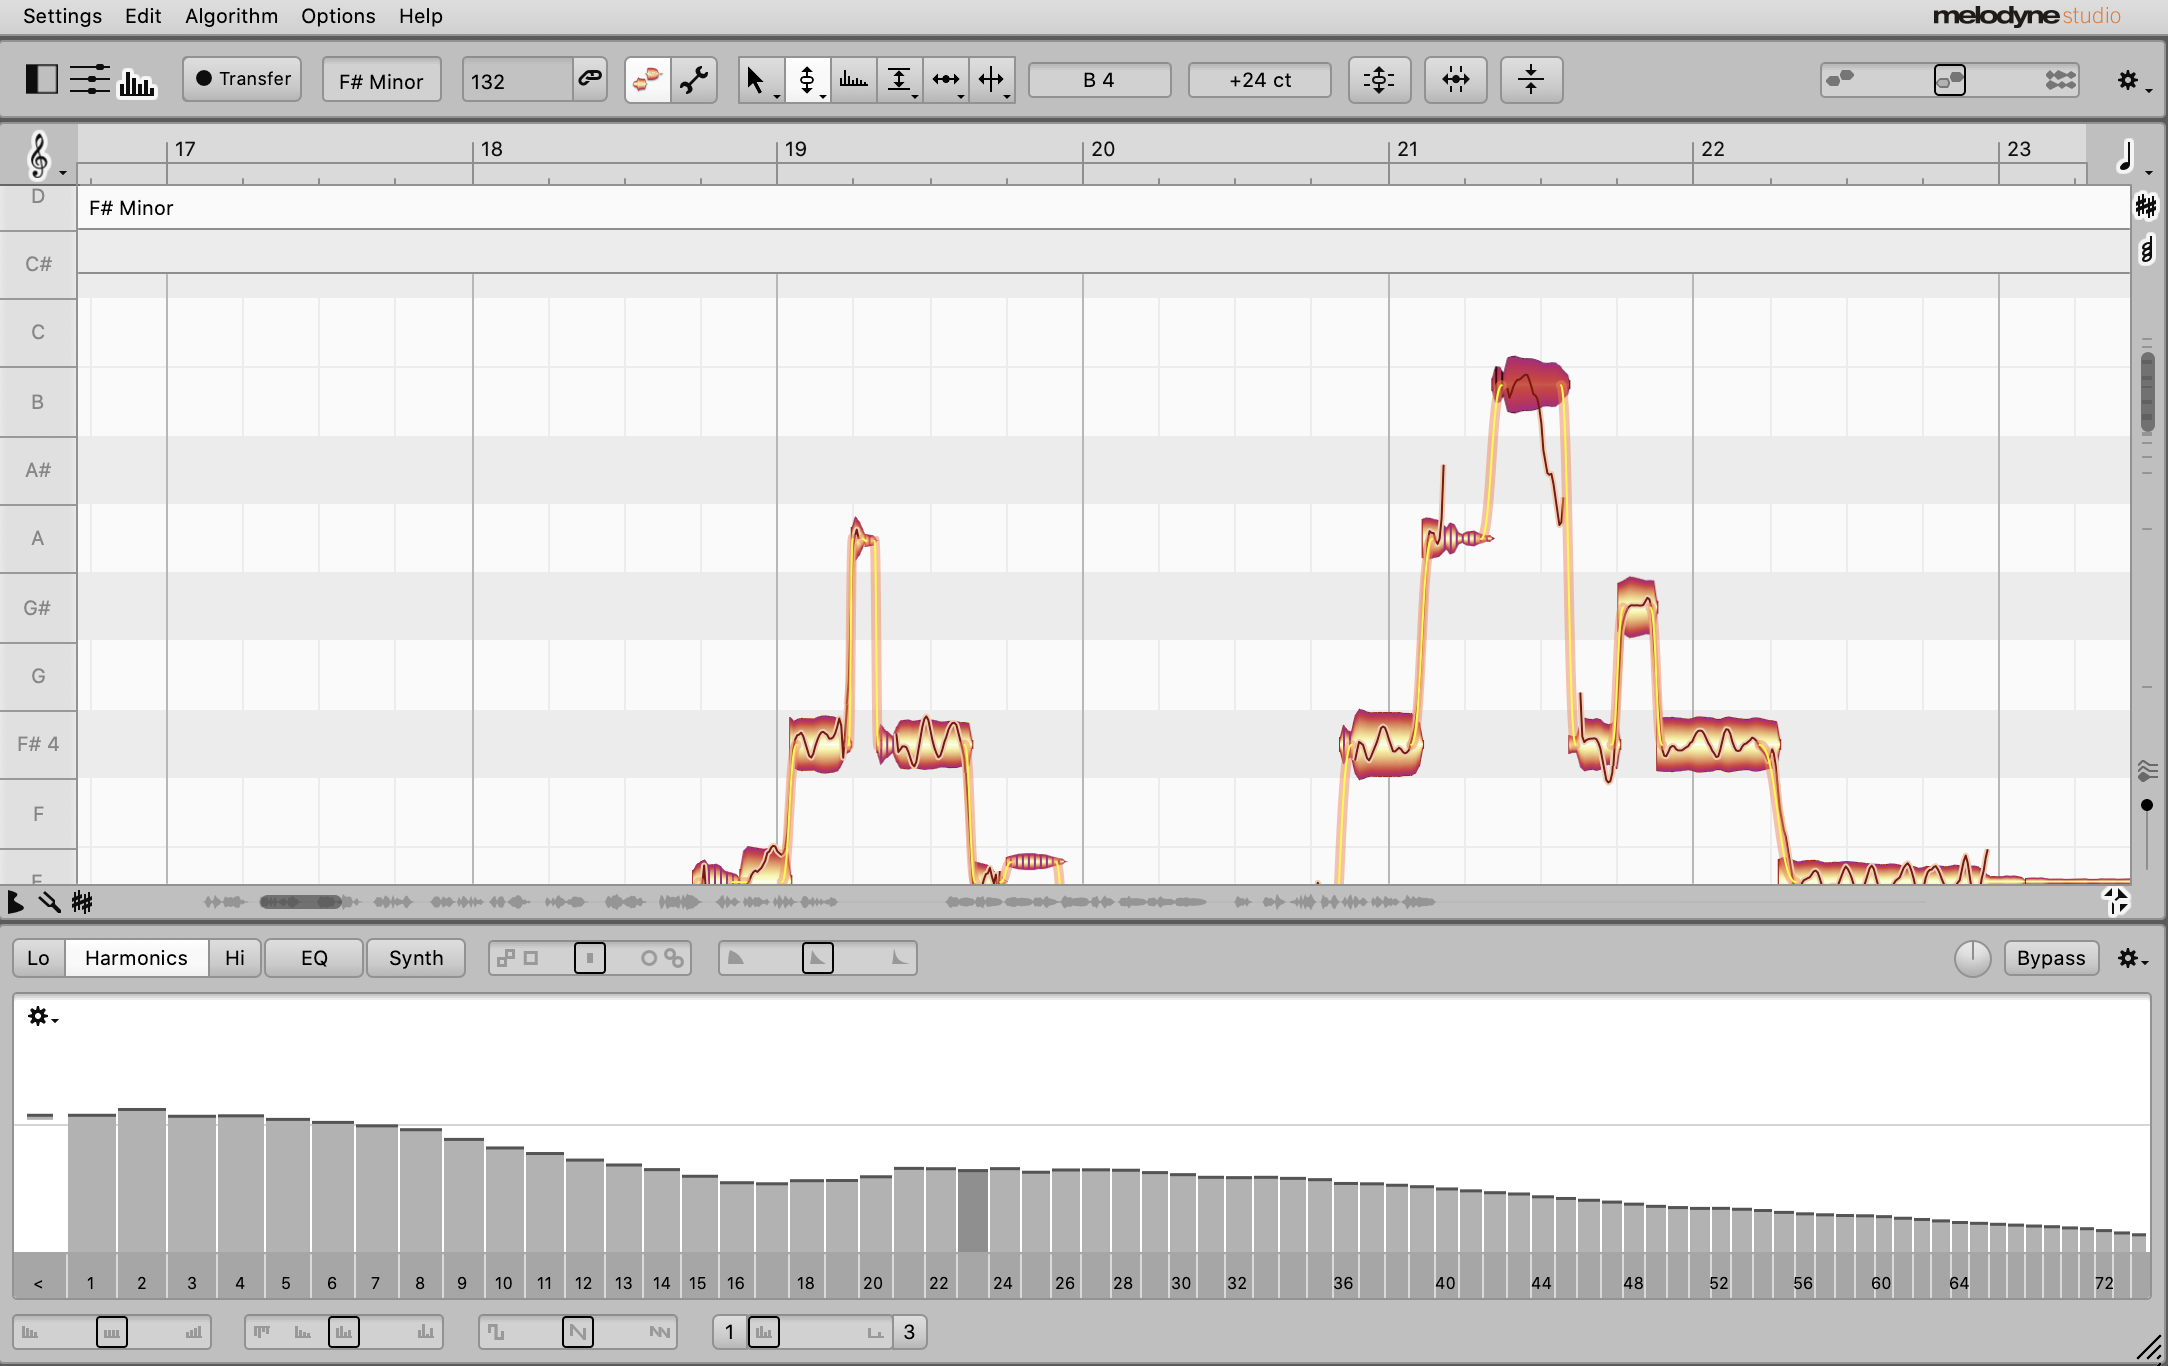
Version 5 gets a unique EQ for Melodyne Studio users, thanks to Celemony’s Polyphonic Spectrum shaping. The algorithm can separate partials from a note into frequency, which Melodyne then lets you shape like an EQ. Note, this feature only works on Melodic and Polyphonic modes, but essentially, what it does is fantastic. A display pops up at the bottom of the GUI with bands a semitone wide. As you adjust various macros across the bottom, the analyzer will react with both the columns and “bouncy balls” for each band moving accordingly.
Where this EQ diverges from the normal EQ is that individual notes can be processed separately from others. For example, the low notes on a guitar can be adjusted without affecting the rest. Welcome to “Quantum EQ.”
In Use
At this point, we are brought back to the question that started the review: How many plugins can Melodyne replace on your signal chain? Given the new features in the latest version, I’m up to five. This is not counting a pitch correction plugin because, well, we already know Melodyne can do that. So how did I come up with five? Of course, I have to show my work given this type of answer, which I gladly will below.
Now that Melodyne can separate non-melodic content and added a Sibilant Tool, you now have extremely detailed de-essing capabilities. Non-melodic content also includes breaths, so you can easily remove the de-breath plugin as well. The Levelling macro can make loud parts quiet and quiet parts loud, giving us both expander and compressor capabilities. Lastly, Melodyne 5 packs one of the most powerfully creative EQs due to their Polyphonic Spectrum Shaping. This thing goes way beyond just EQ, and I’d almost call it a sixth plugin, but there aren’t many plugins that can tonally transform material to sound like a synth.
Let’s do the math really quick: De-esser, De-breath, Compressor, Expander, and EQ – that’s five. Coincidentally, that is the version number of the Melodyne we’re reviewing.
What I Like
I really have to give it to Celemony on the new version. Melodyne continues to fight for its top spot in pitch correction. That’s not an easy feat seeing as it has been met with some worthy opponents. Version 5 delivers an impressive set of new tools that continue to push the boundaries of pitch, time, and now tonal correction.
The upgraded analysis algorithm definitely shows significant improvement. In previous versions, I would have to frequently re-analyze sections where the algorithm misidentified pitches and rendered metallic artifacts. I don’t think I’ve had to re-transfer audio at all. Editing has become significantly faster now that consonant and non-pitched sounds are separate. Adjusting an overly dynamic vocal has never been easier due to the Levelling Macro. Usually, I would either use clip gain in my DAW or individually edit notes in Melodyne. Now, I set my boundaries and let Melodyne do the rest.
One of my favorite tricks is using Melodyne to remove all consonant and sibilant data from a duplicated track and send it to an effects bus. This will give you the delay and reverb tail of just pitched data and has a very cool sound. Conversely, you can leave only the sibilants and process them separately from the pitched data in your DAW.
What I’d Like to See Added
The only thing I want to see added to Melodyne is a dark mode. Most engineers have holed up a cave of sorts, and although we could all use some Vitamin D, I’m not sure we’re going to get it from the only white interface left in the game. I really hope future versions incorporate a darker interface.
Thoughts
Overall, Melodyne 5 is a home run in my book. I’ve been using this version for quite some time now and really have no complaints (other than dark mode). However, Celemony has not rested on their laurels, which they easily could do at this point. Instead, they’ve made a handy new set of tools that will quickly find their way into your workflow. So get version 5 and give your plugin chain some extra real estate.
For more information, visit, https://www.celemony.com/
To purchase, please consider our Affiliate Link (HERE). It doesn’t cost you any extra, and it helps Everything Recording keep the lights on.


")


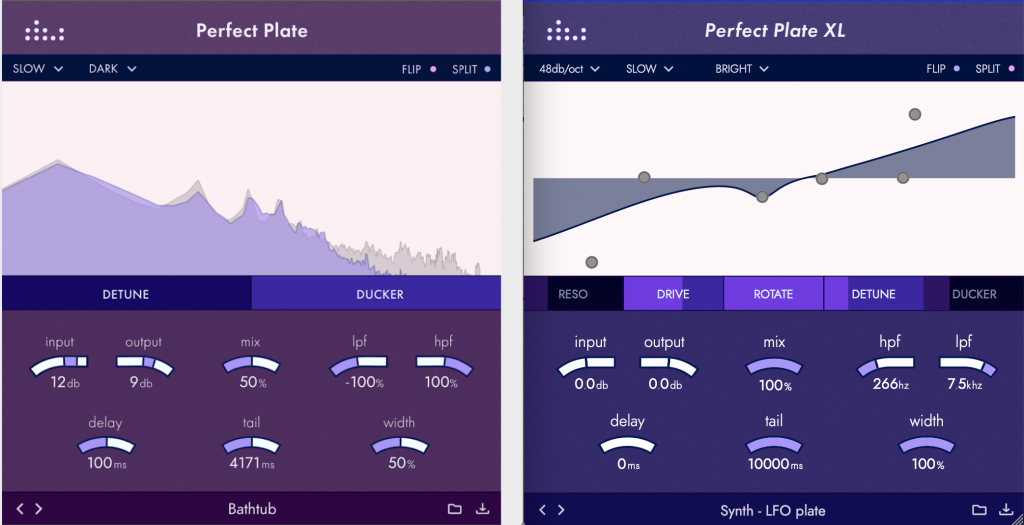
 What reverb would be complete without overdrive and saturation? Perfect Plate XL has incorporated parts from their acclaimed


 With retriggering cementing its way as a go-to method of music production, it’s quite possible to produce a song entirely from patches and samples from your influences. One could license the drums, guitar tones and vocal settings from an artist or producer and create a song that, to the untrained ear, would sound like it was from the same album. In an industry that claims to favor originality but often rewards mimicry, “glampled” is far more the latter. Go mike up your own kick and snare for once and lay off the SSD, ferchrissakes.